Now Reading: Allowing Image Input and Analysis in Microsoft Copilot Studio
-
01
Allowing Image Input and Analysis in Microsoft Copilot Studio
Allowing Image Input and Analysis in Microsoft Copilot Studio

Welcome to the world of Microsoft Copilot Studio, where we will learn to make use of yet another feature that is included in Microsoft Copilot Studio. Microsoft Copilot Studio allows users to upload images; now this feature allows your agents to analyse images and respond accordingly. Let’s see how to properly make use of this functionality and enhance user experiences.
Why Allow Image Input?
There are two main reasons to enable image uploads in your Copilot agent:
- Information Retrieval: Users might ask inquiries that call for information from knowledge sources you’ve set up. Your agent can accurately deliver information by analyzing the content if you accept image input.
- Image Based Queries: Analyzing a picture is the only way to find the answer to some questions. Users can directly upload photos with this functionality, which helps your agent react appropriately.
Best Practices for Image Uploads
Consider the following best practices to make sure your agent analyzes photos as efficiently as possible:
- Why Quality Is Important: Always urge users to upload clear and high-quality pictures. Images that are distorted, grainy, or poorly lighted may make it more difficult for the agent to correctly analyse the material.
- Supported Formats: Ensure that users are aware of the acceptable picture formats. Following are the supported file types:
- JPG
- PNG
- WebP
- Non-animated GIFs
- Moderation of Content: Users should be advised to resume the conversation if a picture sets off content moderation filters. Recurring filtering problems may result from unacceptable content, which the agent utilizes to generate answers based on conversation history.
- Size Limitations: Remember that the combined size of all images uploaded in a single chat cannot be more than 15 MB. Images uploaded in excess of this threshold won’t be used to generate responses.
- General Knowledge Activation: If your agent is having trouble producing high-quality responses from images, you could want to enable the AI’s general knowledge. If you don’t have any configured relevant knowledge sources, this is really helpful.
How to Enable Image Input
Use these easy steps to allow your agent to upload images:
1. Access Settings: Go to your agent’s Settings page.

2. Pick Generative AI: Opt for the Generative AI choice.
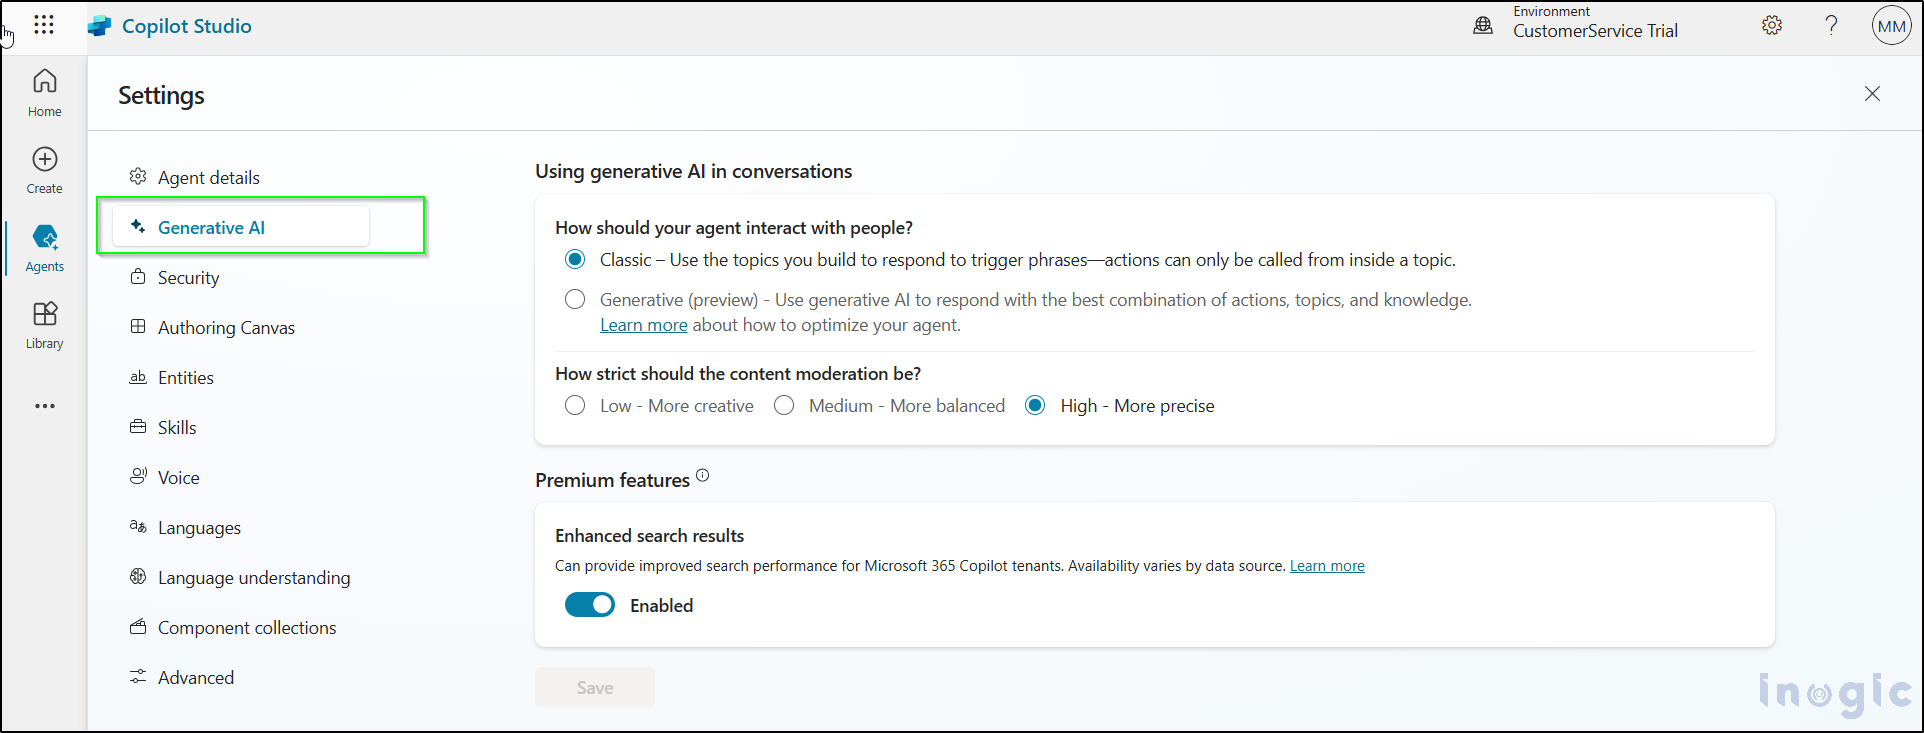
3. Modify Content Moderation: (Optional) Set your preferred level of strictness for content moderation.
4. Turn on Image Input: Enable the Image input option.
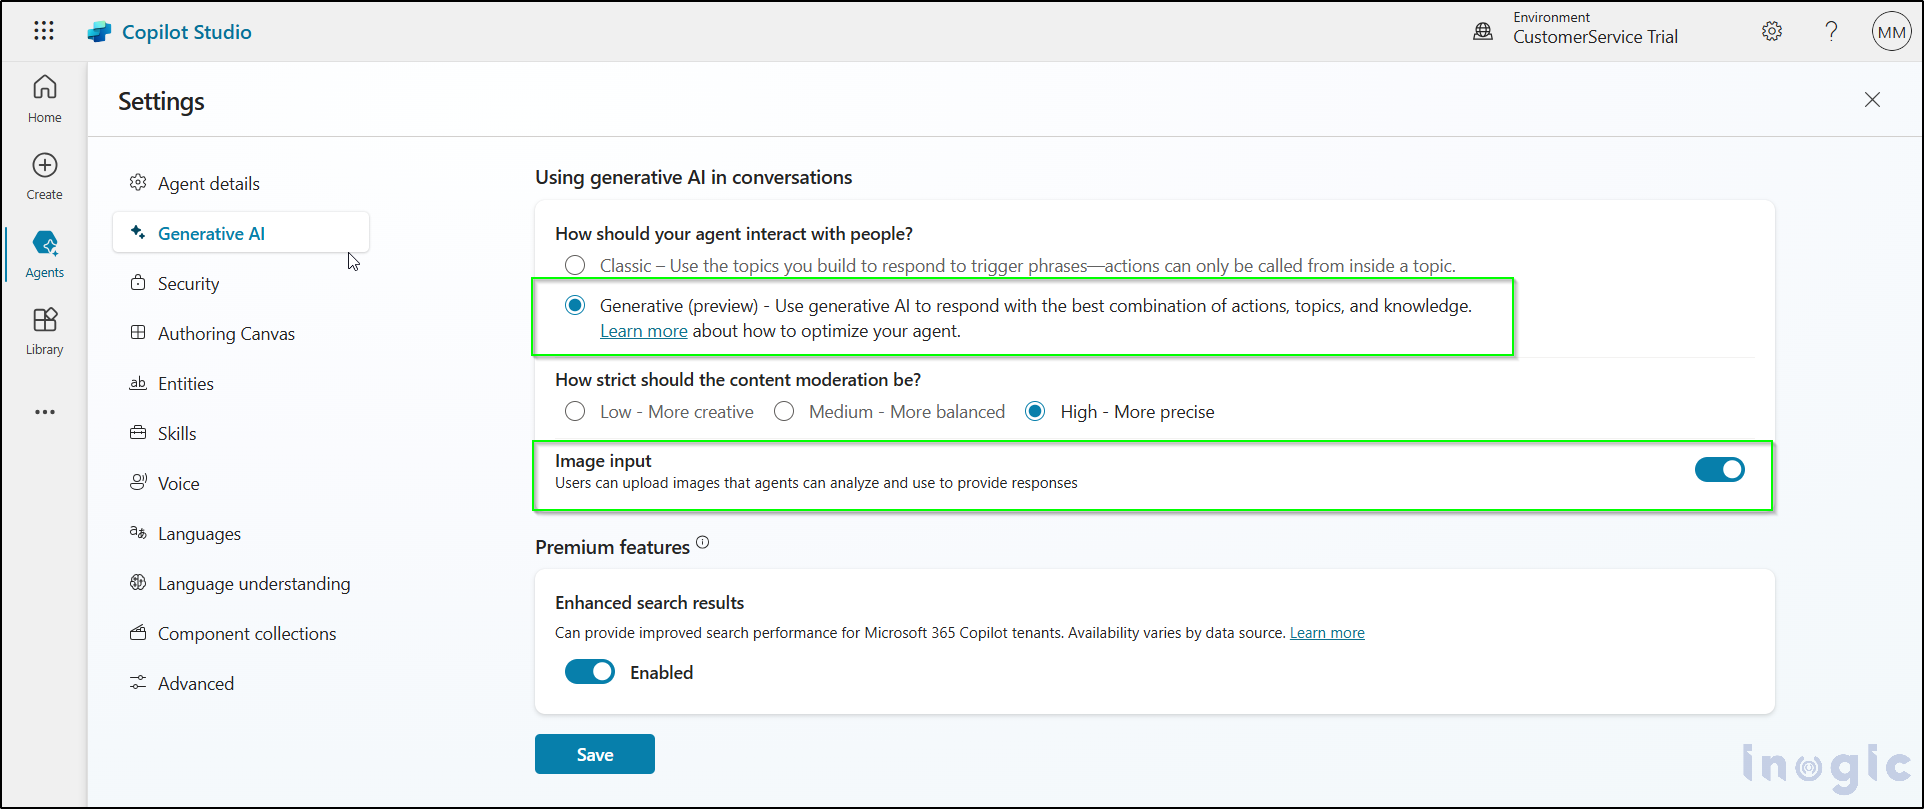
5. Save Changes: Remember to save your setting!
Testing Your Agent’s Image Analysis
After turning on Image Input, it’s time to see what your agent can do:
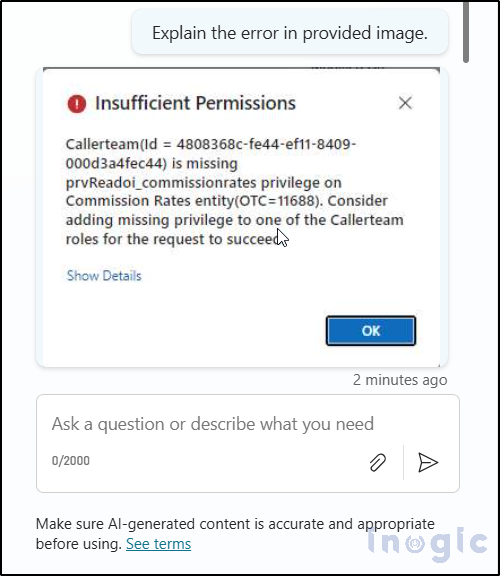
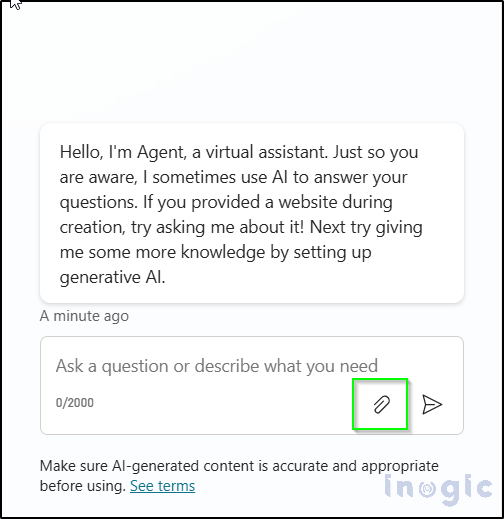
- Upload Images: You can upload different images by using the paper clip icon in the conversation box.


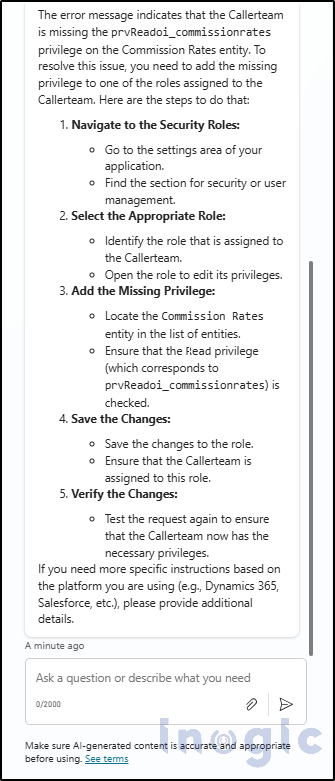
- Validate Responses: Ask various questions pertaining to the uploaded photographs to gauge how accurately your agent is responding.
- To make sure everything functions well.
This extensive testing is essential before publishing your agent.
Commitment to Responsible AI
Microsoft is committed to using AI responsibly. Content is checked at two stages: first during user input and again before the agent generates a response. If harmful, offensive, or malicious content is detected at either stage, the agent won’t respond, ensuring a safe user experience.
Conclusion
Enabling image input in Microsoft Copilot Studio opens a world of possibilities for enhancing user interactions. By following best practices and diligently testing your agent, you can create a powerful tool that delivers accurate and informative responses based on the visual content provided by users. Embrace this feature and elevate your agent’s capabilities today!

The post Allowing Image Input and Analysis in Microsoft Copilot Studio first appeared on Microsoft Dynamics 365 CRM Tips and Tricks.
Original Post https://www.inogic.com/blog/2025/02/allowing-image-input-and-analysis-in-microsoft-copilot-studio/