Now Reading: Exploring Preview Power Fx Functions in Power Apps Test Engine
-
01
Exploring Preview Power Fx Functions in Power Apps Test Engine
Exploring Preview Power Fx Functions in Power Apps Test Engine

Microsoft Power Apps Test Engine provides a powerful automation framework to validate Canvas apps using test plans written in YAML and Power Fx.
With the recent releases, Microsoft has introduced Preview Power Fx functions, enabling deeper, more realistic interaction with the app, pausing test execution, running Playwright scripts, and more.
Prerequisites
- To start using the preview functions, ensure you have the Power Platform CLI (pac CLI) installed with version 27.5 or later.
- Before getting started with this blog, make sure you’ve completed the necessary setup and configuration. You can follow the instructions provided in this blog link to get everything ready.
Please find some preview PowerFx functions that we can use to create a YAML test suite:
1. Preview.Pause(milliseconds: Number)
Purpose: Pauses the execution of the test for the given number of milliseconds. Useful when you need to wait for UI changes, animations, async data loads, or events before the next test step. This is a non-blocking delay function used between steps.
Example:
Preview.Pause(2000); // Wait for 2 seconds
2. Preview.PlaywrightAction(action: Text, selector: Text)
Purpose: Executes a raw Playwright UI action on an HTML element using a selector. This enables fine-grained UI control, such as clicking DOM elements directly. Supported actions: “click”, “dblclick”, “hover”, “fill”, “press”, etc.
Example:
Preview.PlaywrightAction(“click”, “text=Submit”);
3. Preview.PlaywrightActionValue(action: Text, selector: Text, value: Text
Purpose: Like PlaywrightAction, but lets you pass a value with the action — e.g., for filling input fields.
Example:
Preview.PlaywrightActionValue(“fill”, “input[name=’email’]”, “test@example.com”);
4. Preview.SelectControl(controlName: Text
Purpose: Selects a Power Apps control by its name, useful when Select() does not work (e.g., deeply nested or dynamic controls). Designed to work when Select(MyControl) fails or is ambiguous.
Example:
Preview.SelectControl(“LoginButton”);
This works only if the control has a globally unique name and is present in the current screen context.
Please find the steps below on how to configure and execute test suite on Canvas app.
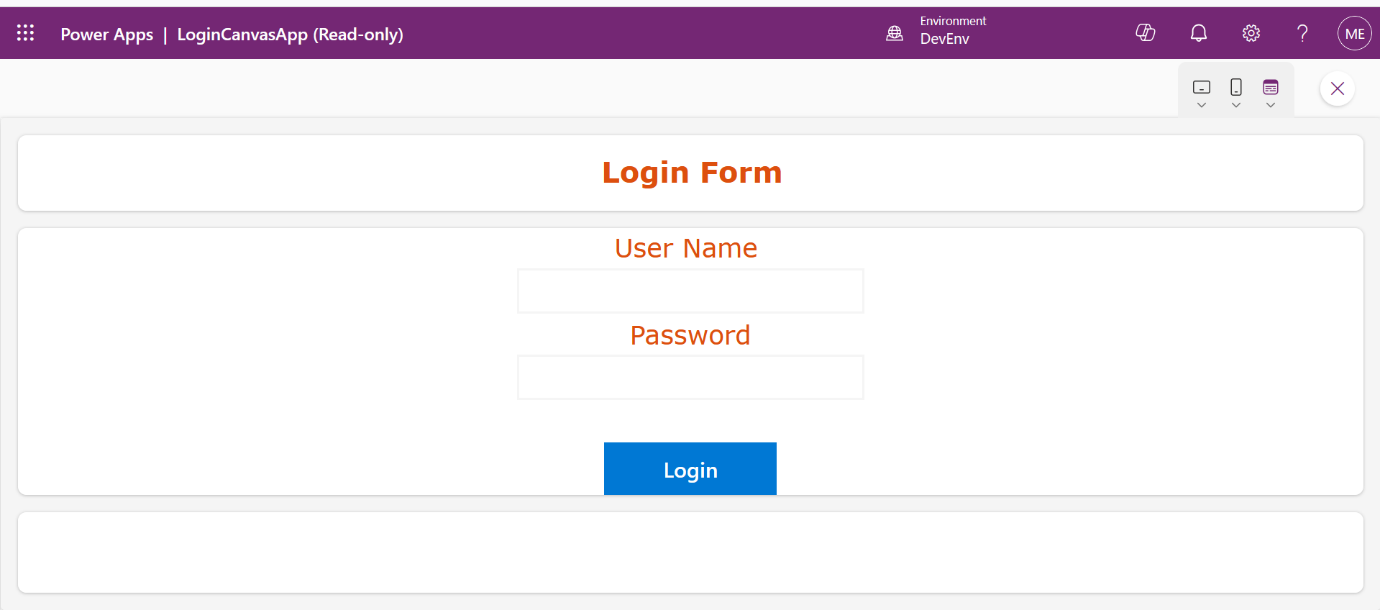
Step 1: To showcase these functions, we’ve created a simple Canvas app with standard login controls—UsernameInput, PasswordInput, and LoginButton.
Step 2: Create a YAML suite.
The test cases are defined in a YAML file (as explained in the blog linked at the beginning).
Below is a sample YAML test plan that demonstrates how to use Power Fx Test Engine Preview functions in your Canvas app testing scenarios.
testSuite:

  testSuiteName: LoginCanvasApp

  testSuiteDescription: Validates login using Preview Power Fx functions

  persona: User1

  appLogicalName: [YOUR_CANVAS_APP_ID]


testCases:

    - testCaseName: Valid Login with Power Fx

      testSteps: |

        Preview.SelectControl("UsernameInput");

        Preview.PlaywrightActionValue("Fill", null, "admin");

        Preview.SelectControl("PasswordInput");

        Preview.PlaywrightActionValue("Fill", null, "1234");

        Preview.SelectControl("LoginButton");

        Preview.PlaywrightAction("Click");

        Preview.Pause(2000);


    - testCaseName: Invalid Login with Wrong Password

      testSteps: |

        Preview.SelectControl("UsernameInput");

        Preview.PlaywrightActionValue("Fill", null, "admin");

        Preview.SelectControl("PasswordInput");

        Preview.PlaywrightActionValue("Fill", null, "wrongpass");

        Preview.SelectControl("LoginButton");

        Preview.PlaywrightAction("Click");

        Preview.Pause(2000);


testSettings:

  locale: "en-US"

  recordVideo: true

  enablePowerFxPreview: true

  browserConfigurations:

  - browser: Chromium


environmentVariables:

  users:

    - personaName: User1

      emailKey: user1Email

      passwordKey: user1Password
Please find below the properties that we need to configure while writing the test suite:
- appLogicalName – Replace this with the Canvas App ID of your Canvas app.
- testCases – Define your individual test scenarios here. In this example, we’ve included two test cases: one for a valid login and another for an invalid login attempt.
- testSettings –
recordVideo: It enables video recording of the test run. The video will be available in the TestOutput folder, as shown in the screenshot below.
enablePowerFxPreview: This setting is required to enable usage of preview functions like Preview.Pause, Preview.SelectControl, and Select within your test cases.
Step 3: To execute the test suite, run the following command in the terminal:
pac tests run –test-plan-file <YAML file path> –environment-id <YOUR_ENVIRONMENT_ID> –tenant <YOUR_TENANT_ID>
Step 4: After executing the test suite execution command, you will get the exact output, which will show you how many test cases failed and how many of them passed. For further details of test cases results, you can redirect to the test suite directory as shown in the screenshot below.

Conclusion
Preview Power Fx functions significantly extend the capabilities of the Power Apps Test Engine, enabling more flexible, reliable, and intelligent automation for Canvas apps. By combining low-code automation with advanced testing techniques.
The post Exploring Preview Power Fx Functions in Power Apps Test Engine first appeared on Microsoft Dynamics 365 CRM Tips and Tricks.
Original Post https://www.inogic.com/blog/2025/08/exploring-preview-power-fx-functions-in-power-apps-test-engine/