

Now Reading: Customise The Work Item Appearance For Sales Accelerator
-
01
Customise The Work Item Appearance For Sales Accelerator

I’ve started writing about the Sales Accelerator that can be used in Dynamics 365 in the Sales Hub (can also add to other apps with some aspects). In the first post I walked through some of the main settings to get things up and running. In this post I am looking at how to customise the work item appearance for your users. This determines what information can be visible when looking at the list of activities that need reviewing and actioning. Let’s jump in!
First, getting to where to customise things is a bit strange. Go to the sales accelerator in the Sales Hub, then click on the three dots at the top of the list of work items. Then click on Settings.
If the user doesn’t have the ability to customise this, a message will show to indicate that ‘Your admin has currently locked customisation’. So they can see how things are set up for the appearance of the activities, but won’t be able to do anything to change it.

If the user does have access, they will have a little toggle at the bottom of this area and can switch to admin mode to make changes. They can also determine if customisation should be locked (meaning others can’t change their own appearance. That’s up to you to decide if you want sales people to customise the way they see their own activities.
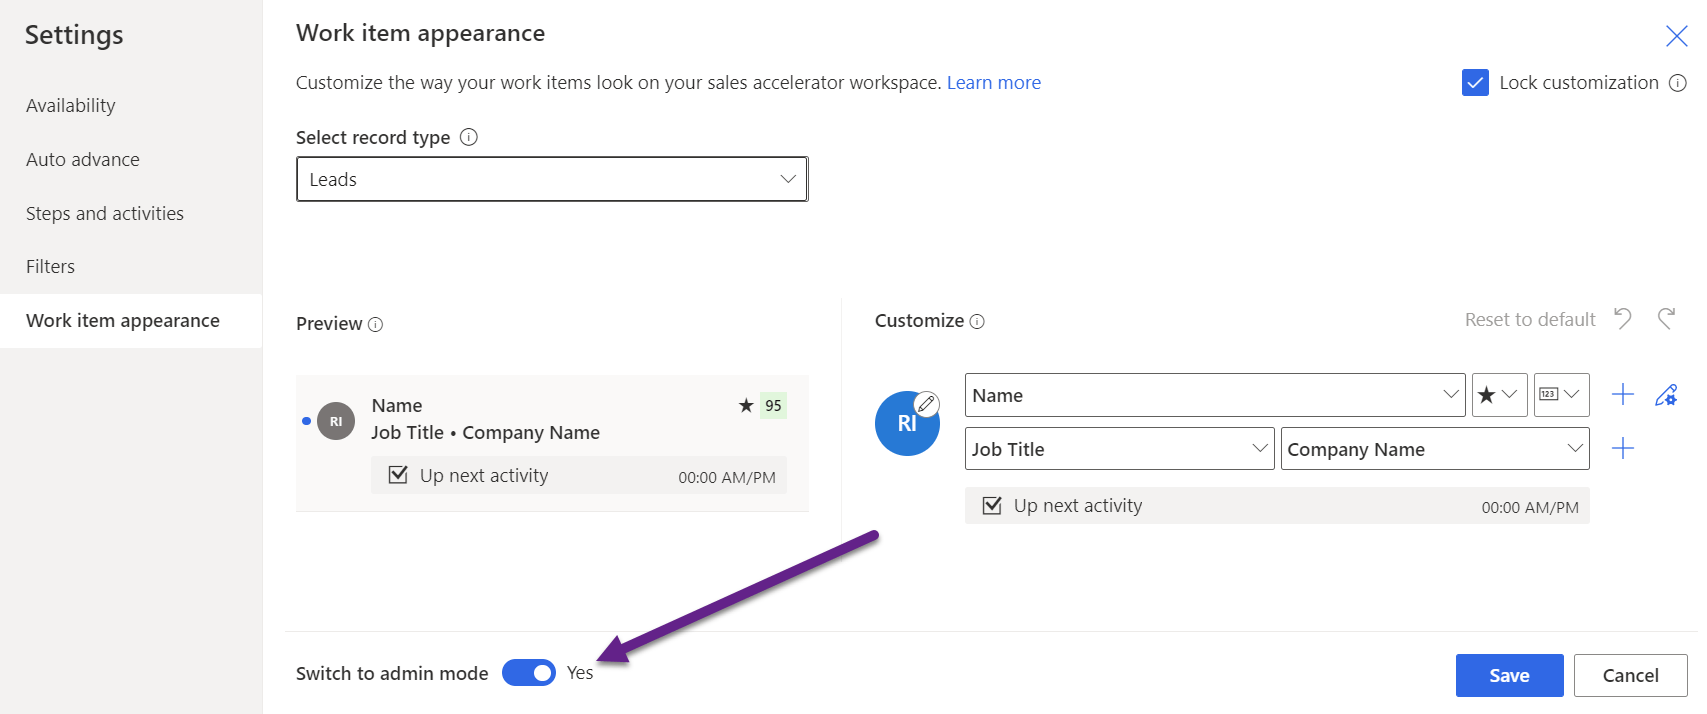
The record types that were added during the sales accelerator set up will be available in the list of record types to customise the appearance. Select the one you want to adjust.

After selecting a record type, you will then be able to edit and update which fields you want to include. Simply click on the pencil edit icon, then you can select different fields from the drop downs and even add additional rows of data.

If you are using predictive scoring you can include the score, or add a follow indicator.
Adding another row allows you to add fields directly from the record, or add fields from related fields (think of adding Account information that is related to a Contact for example).

The icon can also be edited to show the image of the record, initials of the record, record type icon or activity type icon.
Finally, you can adjust which actions are available when a user is reviewing an activity. This makes it faster and easier for them to work through their list of activities in the Work Item area by clicking on an icon from here rather than needing to open up each activity individually.

You can also preview your changes to get an idea of what they will look like for your users.

Once you have finished making all of your changes, don’t forget to decide if you want to lock the customisations so they are applied for everyone.

Here is an example of a Lead record type layout with customisations.

And here is what that looks like in the work list, with the record image showing on the left along with the Lead Name, Email and Company Name, Job Title and Business Phone. It’s informative and useful for the users working through their activities. Taking a bit of time before you start adding in sales sequences will mean your users experience is a smooth and efficient one when it comes to managing their work.

Original Post http://meganvwalker.com/customise-work-item-appearance-sales-accelerator/


